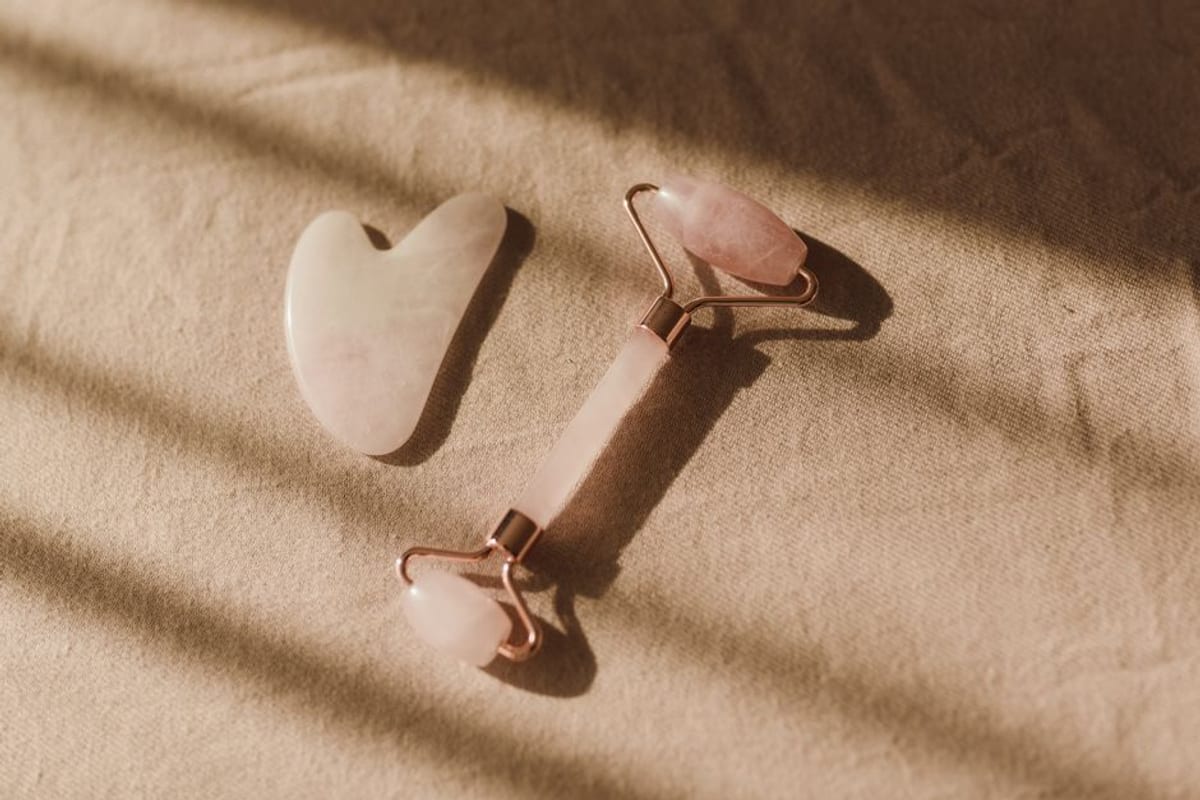
Most gua sha tutorials show a stone gliding across a cheek and leave it there. The parts that decide whether any of it works get skipped: how hard to press, what angle to hold, where to start. Here’s the routine with those parts put back in.
Start at the neck, not the face
This is the step almost everyone gets wrong, and it changes the outcome more than anything you do on the cheeks.
Gua sha moves fluid. That fluid has to go somewhere, and where it goes is the lymph nodes under the jaw, in front of the ears, and down the sides of the neck. Work on a puffy cheek while the neck is still congested and you’re pushing fluid toward a closed door.
So the first two minutes belong to the neck alone. Long, slow strokes from just under the jaw down toward the collarbone, both sides, maybe five passes each. Nothing dramatic happens while you do it. That’s the point: you’re opening the drain before you fill the sink.
Never on dry skin
A stone dragged across bare skin pulls at it. You’ll feel the difference immediately, and so will your face the next morning.
Use a facial oil, or a serum with enough slip that the stone glides instead of catching. If it starts to stick partway through, stop and add more. There’s no prize for using less product, and that tugging is exactly what you’re trying to avoid.
Oil suits most people here, because it stays slippery longer than anything water-based. If your skin dislikes oils, a thicker hydrating essence works too. It just means reapplying more often.
The angle is about fifteen degrees
Hold the stone almost flat against the skin, tilted only slightly. Fifteen degrees is the number that gets repeated, and while nobody is out there measuring, the difference between “almost flat” and “on edge” is obvious the moment you’ve felt both.
Flat spreads pressure across a wide contact area. On edge concentrates it into a line, which is how people end up with red streaks and irritation. If you can feel a defined edge digging in, drop the angle.
Pressure: less than you think
The most common mistake is pressing hard, on the theory that harder works better.
Body gua sha, the traditional practice this borrows its name from, genuinely does use firm pressure. It’s meant to bring blood to the surface. Facial gua sha is a different thing wearing the same name. Here you’re working with a thin layer of fluid just under the skin, and that layer responds to light, sustained contact rather than force.
A useful check: the stone should move without the skin bunching up ahead of it. If skin is gathering, you’re pressing too hard, or you need more oil.
The jaw is the exception. The masseter sits there, the muscle that clenches all night while you sleep, and it can take firmer, slower work. Not scraping. Slow, held pressure that lets the muscle let go.
The order
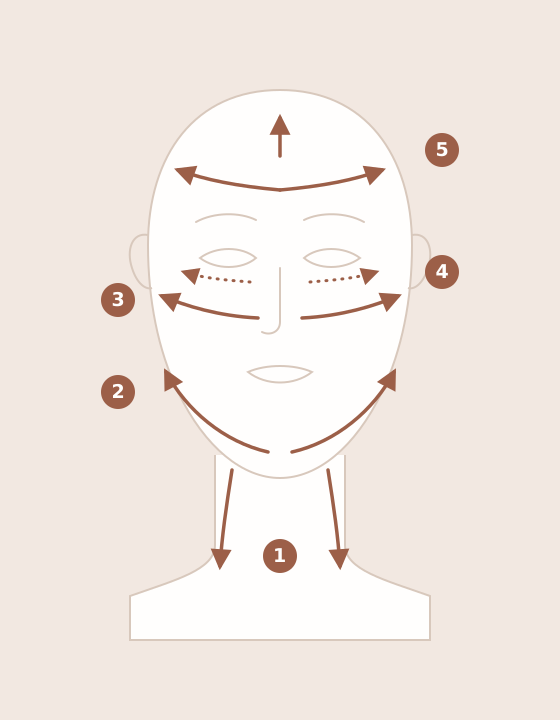
Every stroke runs from the centre of the face outward, and from the top of the neck downward. Three to five passes per area is plenty.
The under-eye area needs its own warning. That skin is the thinnest on your face, and it wants the lightest pressure you can manage, barely more than the weight of the stone itself. Move from the inner corner out toward the temple, and stop before you reach the lash line.
How long, and how often
Five to ten minutes is a full routine. Longer isn’t better, and past a certain point you’re just rubbing skin that has had enough.
Daily is fine if the pressure stays light. Every other day is also fine. What matters here is turning up regularly: a rushed five minutes most mornings beats a careful half hour once a fortnight.
Morning wins for a practical reason. Overnight fluid retention peaks right when you wake up, so that’s when the depuffing actually shows.
What gua sha does not do
This is where most articles stop being useful, so here it is plainly.
It doesn’t lift the face. Not in the way that word gets used in advertising. Nothing gets repositioned, nothing gets shortened, and the structure underneath stays exactly where it was. Anything calling gua sha a “natural facelift” is selling you something.
It doesn’t build collagen in any way anyone has demonstrated. Research on facial gua sha specifically is thin. There’s better evidence that the body version affects local microcirculation, but stretching that into claims about facial ageing isn’t supported.
The visible change is fluid, and fluid comes back. Less puffiness after a session is real, and around the eyes and jaw it’s often obvious. It’s also temporary, in roughly the way a good night’s sleep is temporary.
It can make some things worse. Active, inflamed acne is a real reason to skip this: dragging a stone across it spreads bacteria and irritates skin that’s already angry. Same caution for rosacea, broken capillaries, open wounds, and skin that has recently had injectables. When in doubt, ask a dermatologist instead of a website.
Subtract all of that and what’s left is still worth ten minutes. Less puffiness. A jaw carrying less tension. A few quiet minutes spent paying attention to your own face. That’s a fair return. It just isn’t the one the marketing promised you.